If you’re like me, you probably take a ton of pictures with your iPhone. I’ve had the iPhone since 2007 and have taken hundreds of thousands of photos. I’m always trying to find new ways to improve my photos, and one of the things I’ve found that has improved my photos is to adjust the camera settings. I’ve made some of these adjustments on my iPhone and some of them on my iPad, so here’s a quick tutorial on how to do it.
In this post we show you how to adjust the settings of your iPhone camera to get the best pictures possible. We also describe how to adjust settings in your iPhone’s photo library to optimize your images for your website.
Table of Contents
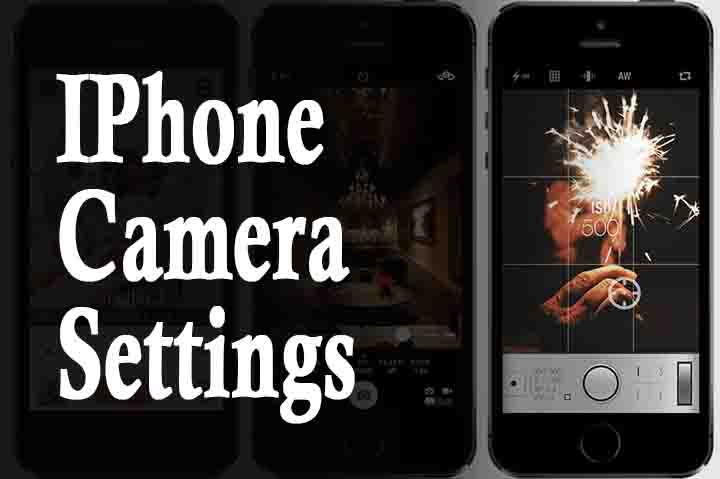
How to Set Up Your iPhone Camera
There is nothing better than taking a photo and watching it turn out perfectly on your phone screen. And when you do, you can be sure that you did everything correctly.
But there is nothing worse than having a bad picture, or no picture at all. The iPhone camera is pretty much a perfect device, but still there are a few things you need to know to get the best possible pictures.
Today, I want to explain how to set up the iPhone’s camera for video.
It is easy and quick, and you should definitely try it out. But first, you need to know the difference between the front and rear cameras, and how to use each one properly.
In short, the front camera is the one on the top, and it is the same one as the one in the iPhone 5s. The rear camera is on the bottom, and it is the same one as the one in the iPhone 6s.
And, since the front camera is not as good as the rear camera, it should only be used if you need to take a picture quickly, or if you don’t have time to adjust the settings on the back camera.
First off, you need to open the camera app, which you can do by opening the Camera Roll and tapping on the icon. Now, tap on the plus symbol at the bottom, and select the Photos option.
The first setting you need to look at is the Auto-HDR option. This is the one that automatically adjusts the exposure level, and gives a sharper image.
But the downside is that it will take longer to process the images, so it isn’t suitable for everyday shooting.
To use this setting, you need to tap the switch on the left side, and the Auto button. Then, tap the HDR button.
The next setting you need to look at is the Lighting mode. This is the one that allows you to choose between the automatic and the manual mode.
To use this setting, you need to tap the switch to the left, and the Auto button. Then, tap the Lighting mode button, and tap the Manual option.
The next setting you need to look at is the ISO sensitivity. This is the one that controls the light sensitivity, and it is crucial for high quality photos.
How to Make Your Photos Better
To take better photos on iphone, here are some simple ways to improve the quality of your photos.
Use the panorama feature.
The panorama feature creates a single image of an entire scene by stitching together a number of overlapping images taken with the iPhone’s camera.
This technique can be used to create a large single photo that includes a lot of details and background. You can also use it to create a panoramic view of a specific part of your home or office.
Take multiple shots.
Using multiple shots can help capture the whole picture, even if you’re taking pictures of something close.
Try shooting a few photos at once to ensure you don’t miss anything important, and try experimenting with different angles.
Use the auto mode.
When using the auto mode, the camera automatically adjusts the settings to provide you with the best photos.
Try experimenting with the various options to see which setting works best for you.
Use the burst mode.
The burst mode lets you shoot 10 photos in one second. You can choose between regular and fast modes to take as many photos as you want.
The burst mode is great for capturing fast moving objects like people or animals.
Try the HDR.
The HDR (high dynamic range) mode lets you capture the entire dynamic range of light in a single shot.
It lets you take more photos than you’d normally take and use a combination of photos to generate one photo that has a wider dynamic range of light.
Use the filters.
Filters let you add artistic effects to your photos to make them look better.
Try experimenting with the various types of filters to find the one you like best.
Use the manual mode.
The manual mode lets you control the exposure, ISO and white balance of your photos.
Use the grid.
The grid mode provides a pattern of dots to help you place the focus of your shot.
This mode is useful for focusing on a specific area of your photo.
Use the timer.
The timer lets you set the time limit for how long the iPhone will take a picture.
Use the tripod.
The tripod mode lets you take pictures without having to hold the iPhone steady.
The tripod mode is helpful for taking better outdoor photos.
How to remove unwanted photos from your iPhone
The iPhone has a lot of memory space. And as a result, you are likely to have a few dozen or more photos stored on your iPhone.
This is a good thing because you will have a great photo library. Unfortunately, it is also a bad thing because you will have a lot of photos stored on your iPhone.
And that’s the problem because sometimes you may accidentally take a picture of someone in public without their permission. Or, maybe you accidentally click on a photo gallery or album on Facebook while viewing your iPhone’s screen and ended up seeing a picture you don’t want to see.
Whatever the reason, there are some simple steps you can take to get rid of unwanted photos from your iPhone.
Conclusion
In conclusion, When you have a camera on your phone, you want it to take good photos. The iPhone 7 Plus has a dual-lens system, which gives it a wide-angle lens and a telephoto lens. The wide-angle lens is great for taking photos of people and landscapes. The telephoto lens is great for taking photos of close-up subjects. To use the telephoto lens, simply turn the camera around and hold it up to your face.